Single Crochet Stitch Variant in Amigurumi
Ever notice that the stitches on some amigurumi looked a little different? A little more square-looking?
Sometimes when I post photos of my projects on social media I get asked, “How do you get your stitches so lined up?”, or, “How do you get your stitches so square looking?”.
The answer to that question is:
I use a variant of the single crochet stitch when I make amigurumi!
Did you know there is a slightly different way to make a single crochet stitch?
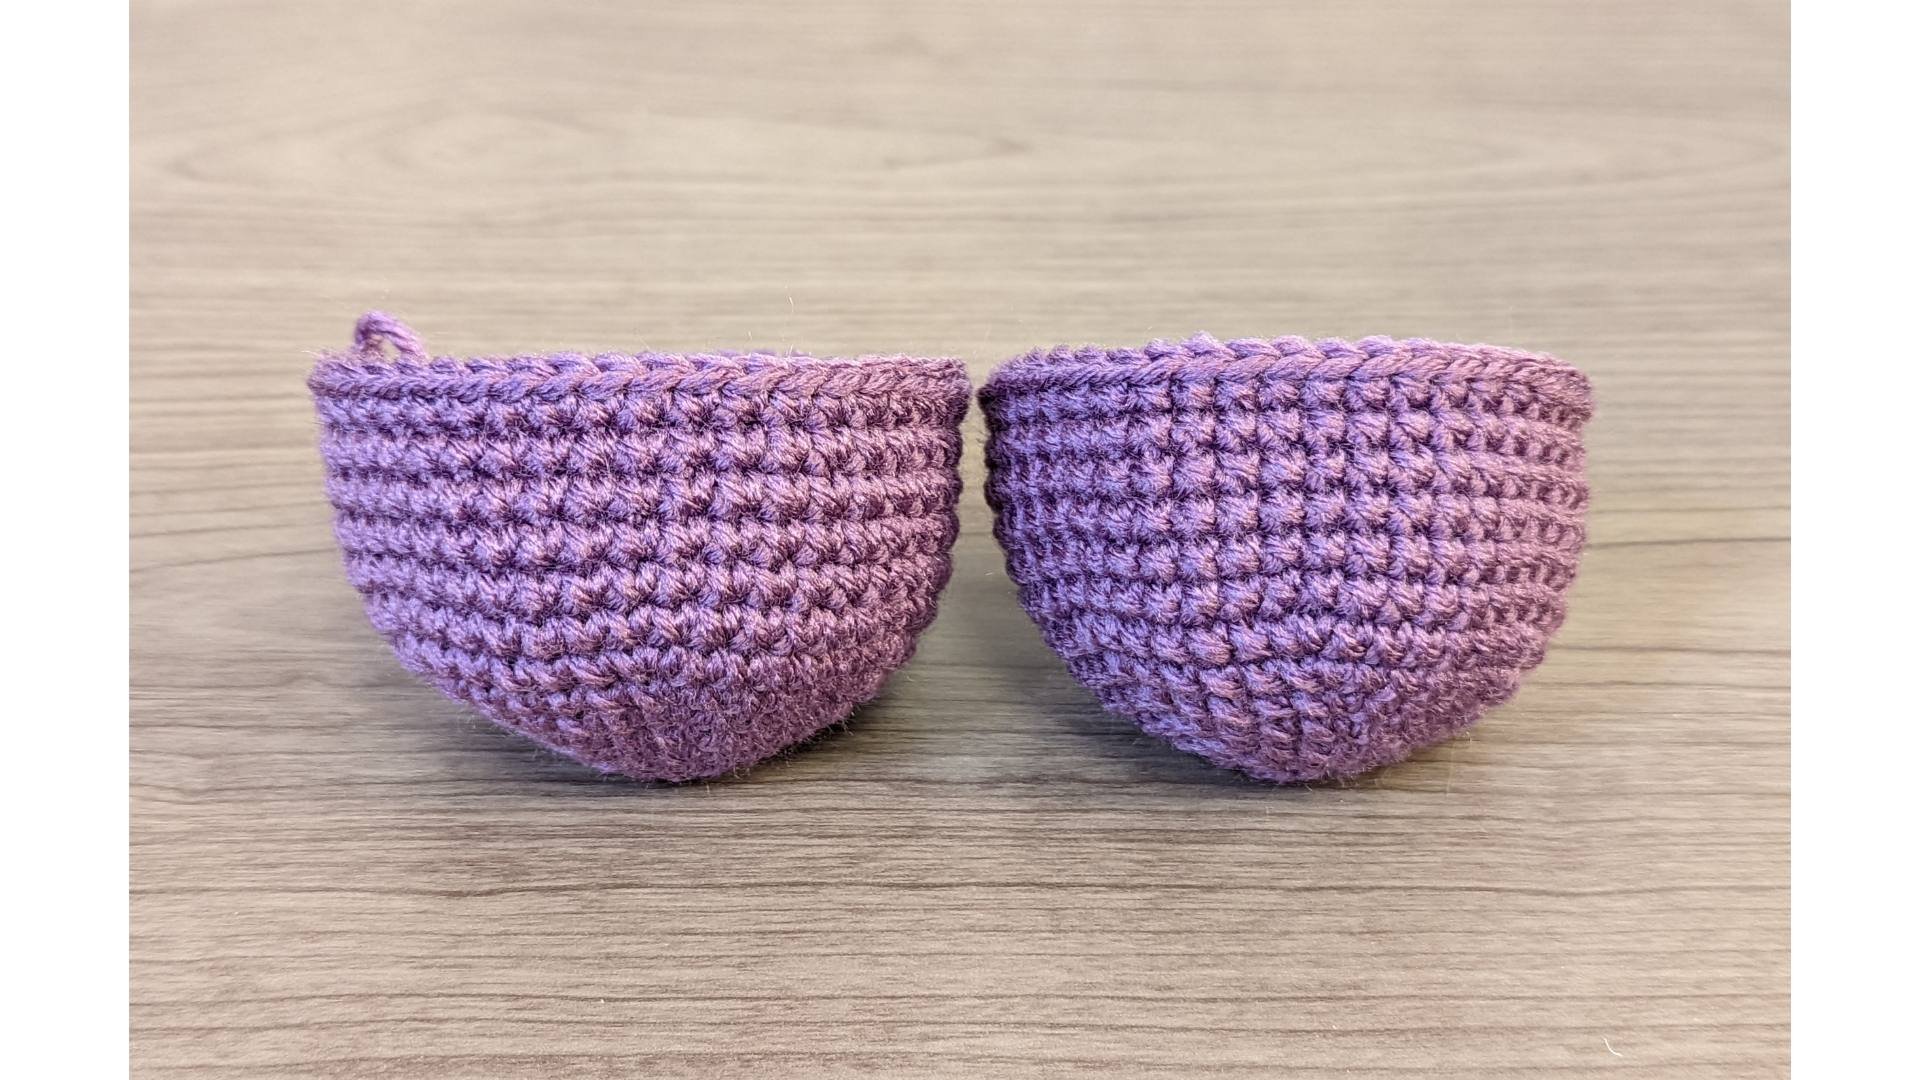
Take a close look at the two amigurumi pieces below.
Can you see a difference between them?
The piece on the left is made with the traditional single crochet stitch. The piece on the right is made with the single crochet stitch variant.
Taking a closer look at the stitches reveals slight differences in how they are shaped.
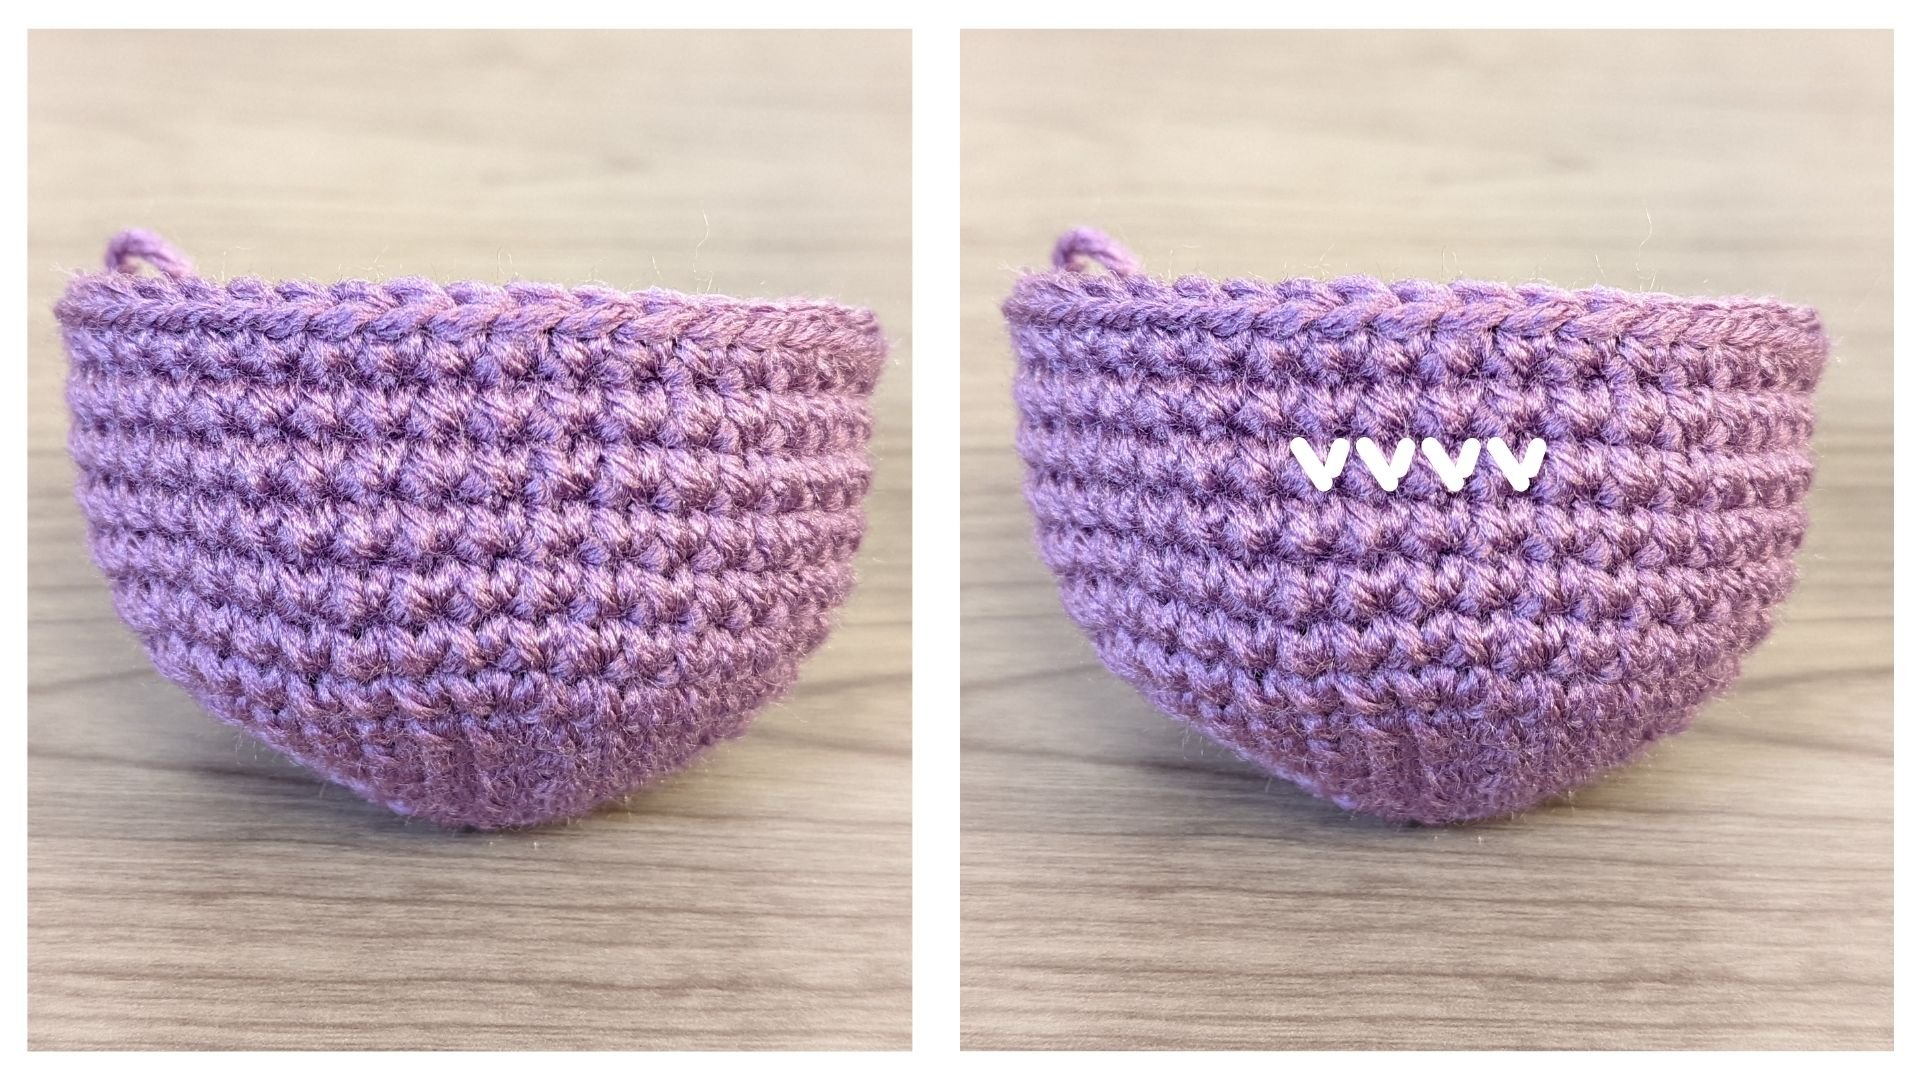
Traditional Single Crochet Stitch Shape
Taking a closer look at the stitches reveals slight differences in how they are shaped. The traditional single crochet stitch yields a more “V” shaped stitch and they appear slightly slanted.
Single Crochet Variant Stitch Shape
The single crochet stitch variant yields a more “X” shaped stitch that appears squarer. They look as if they are almost in a perfect grid pattern.
So how do we make this single crochet variant stitch?
First, let’s review the traditional single crochet stitch.
Every crocheter knows the good ol’ single crochet stitch! It’s one of the very first stitches we learn to make. We will be taking a look at this stitch in the context of making amigurumi.
And there we have the traditional single crochet stitch we all know and love.
Now let’s take a look at the single crochet stitch variant!
And there you have the single crochet stitch variant!
A quick summary:
Yarn Over + Yarn Over = Traditional Single Crochet Stitch
Yarn Under + Yarn Over = Single Crochet Stitch Variant
“Why should I use the variant stitch over the traditional stitch?”
This variant of the single crochet stitch can offer a couple of advantages when making amigurumi. Because of the squareness of the stitch shape, it tends to pull the stitches in tighter and fits them together more snuggly with no apparent gapping. It can make your stitches appear more “lined up” and neat.
However, the aesthetic of the single crochet stitch variant can be totally subjective. Not everyone may care for its appearance over the traditional single crochet stitch, and that’s totally okay! You can still avoid stitch gapping with the traditional single crochet stitch as long as you are using the appropriate hook size for your yarn type, which I will talk more about in another post.
I hope you found this little article about the single crochet stitch helpful! Thanks for checking it out!
-1Up Ashe


